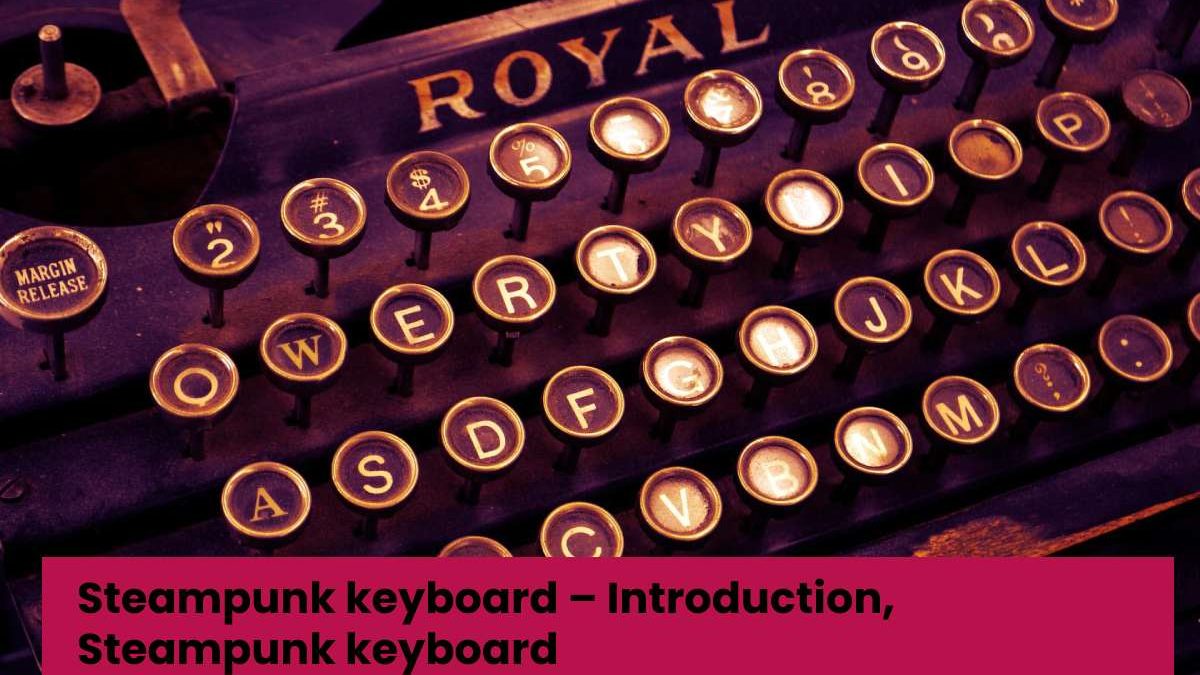
Steampunk keyboard – My goal with this scheme was to create a fully functional old keyboard of good enough quality that it could use every day by touch typing machines. To achieve this, I chose a high-quality (although widely available) keyboard as a starting point. It is an “easy-to-click” IBM Model M keyboard. It was made in the mid-1980s, and a copy is still being produced today. This keyboard was created in 1989 and shipped with the IBM PowerStation 530, a Unix box the size of a gerator.
Table of Contents
Step 1: Choose a Keyboard – Steampunk keyboard
- If you do this, you’ll need a replacement keyboard that you can take apart and cut.
- You can practice any keyboard, even wireless, but keep a few things in mind when choosing one.
- Choose a keyboard that will allow you to wrap the wood around a pole.
- Most hubs will complicate the process to an incredible level.
- Not all keyboards make noise, and after modification, the noise may not be the same.
- What I used here was an old keyboard APC f-21 (1991, twenty-three years!!!!).
By Now, It Should be Vibrant Why it is Called a Semi-Mechanical Hybrid:
- It borrowed sliders, springs and click plates from mechanical keyboards and omitted the PCB, single contacts, and separate switch housing.
- Membrane panels borrow from the Membrane keyboard.
- I chose this because I liked the way the means looked when pushed.
- They completed a nice clicking noise that was nearly like an ancient typewriter.
- Which would be seamless for a steampunk mod.
Step 2: Unpack the Keyboard – Steampunk keyboard

- Remove the top and all keys from the keyboard.
- Please don’t damage the main stems, as you will reuse them later.
- Before starting this step, if you don’t have a photographic memory, I suggest you take a picture or
- sketch of the keyboard before drawing the keys.
- You can refer to it later when you need to restart the keys.
- The keys are straightforward to remove with a flat head screwdriver.
- Pry a flat head screwdriver entirely into the middle of the wrench.
- Then mildly pull the handle away from the faucet, and it should turn off immediately.
- Now find the key you just took out because it might have just blown off!
Step 3: Cover the Frame – Steampunk keyboard
- Make a template out of paper, stick it on a wooden board and cut out the keyhole with a 12mm punch.
- Some will be square, and some will be round.
- Square holes require considerable extra care because the wood will be torn apart.
- The next stage is using cyanoacrylate to stick the wooden paper to the long side of the controls.
- Leave some overlap on the edges of the keyboard, and you’ll cut it off later.
- Using a thin line of quick-drying glue, stick the wood to the plastic frame until the entire face cover.
- Once the top face is covered, cover the sides of the plastic frame with wood as well.
- Once the sides and highest of the keyboard are covered with wood, use sandpaper that matches the hardness of the wood to finish the surface and smooth out any imperfections.
- The higher the grain of the wood, the finer the sandpaper you want to finish.
- Use a fine poly spray to seal the wood.
- Repeat with the finest sandpaper available until you are satisfy.
Step 4: Cut the Keys Steampunk keyboard
- It is the longest and most tedious part and any keyboard modification.
- Here we will want to modify the existing keys to look like the keys from the old typewriter.
- After removing the switches from the keyboard, I cut each switch’s corner with wire cutters.
- Once these cuts were complete, I used a pair of needle nose pliers to pry the bib off the keys.
- There was a twist on each apron to undo this, leaving me a key with only a head and a shaft, ready
- to get to the studs.
- Be careful; each key has a different angle, and you can’t put it anywhere later.
Step 5: Main Papers
- To make letters for the new keys, I was thinking of designing them in Scribus.
- Any other photo editing software should do if you don’t have it.
- I measured the inside of the keys first (16.5mm) and the square keys because I wanted to keep them and not just replace them with round buttons.
- So I made the precise size of the square keys.
- Then I printed and shielded the paper sheet with a transparent self-adhesive film.
- After looking at all my letters and numbers, I glued them inside the buttons.
- Perhaps you should consider adding a coat of gloss or epoxy to protect it or clean your nail polish.
- I tried it, and I wouldn’t say I liked the result.
Step 6: Enter Round Key
- Insert all the stems into the keyboard.
- Then, using epoxy glue, place the studs on the stems.
- I started in the middle and ensured the row was as straight as possible!
- I removed a few switches (buttons) to undo them and stick them again because they were skew.
- The governor helped with this work, and I think, in the end, you did a great job.
Step 7: Rectangular Keys
- What are the rectangular keys left? Of course, you can replace them with round buttons, but I wouldn’t say I like the result.
- I prefer the basic rectangular essential shape for this mod.
- If the original has any means to prevent these switches from being bent and jamm, as in my case metal rails, try to keep them. The new controls are made from 1/16″ evergreen styrene board and “L” profile and are available at fashion designer hobby stores.
- First, I stripped off the edges of the original keys with a heavy-duty cutter or scissors.
- Then I determined the particular size of the studs on the styrene and cut them with secateurs.
- I created this “L” profile at the hobby store and made it into the side of the stud. These look perfect with round studs.
- I use a special styrene fashion designer glue.
- Sand the turns a bit to round them, then spray with a mist to apply two coats of metallic silver.
- Finally, cut out the printout and stick the pieces in it.
Step 8: Test the Key
- It is done with the basic keyboard.
- At this point, you may want to try each key to see if it works properly.
- If there is a tendency to jam, gently remove the key from the keyboard and inspect the stem.
- I probably screwed it up after all, and the only rumble left; Take it off the X-Acto.
- Or a piece of dirt sticking to the leg.
- Also, check the holes.
- Use a little graphite dust, cross your fingers and put the key back in.
Step 9: Keyboard Lighting
- The BIC pens stuck, and my two 5mm blue LEDs came together perfectly with the help of hot glue.
- I first filled the empty pen with silicone sealant.
- Side posts are wooden pennant heads that drill horizontally and vertically.
- I took 5 volts for the circuit from the keyboard board and screwed the switch to the back of the frame.
- I also replace the original 3mm LEDs, sliders, and capslock with 5mm LEDs.
Conclusion
The steampunk genre originated from the reconstruction of old techno objects described in fantastic fairy tales of the 19th century, particularly in style reminiscent of Victorian London. Which described many weapons or tools in a highly mechanical way, sometimes powered by steam, and decorated with copper or iron.